This is not a tutorial nor am I an expert in anything here. I am learning and documenting as I learn. Things here may be wrong, feel free to point them out and reach out to me :)
Introduction
I needed to add a feature to an existing project in which a user can drag and drop custom textures onto a section of the webpage and automatically apply said textures to the playcanvas scene. This isn’t particularly new or very difficult but as I am new to web development and have never encountered a similar problem before, so I did reference a few slightly similar code snippets.
Initial Research
Initially, I did what we all probably would do, I did some research to see if this problem had been solved before. The answers I found were mixed; Yes the problem had been solved before, but unfortunately there was little to no documentation aside from a final product. So here is how I solved it (Note: there are probably way better ways to do this by the way).
HTML & CSS
The first thing I had to do was figure out how to create and render the drop area on the webpage and over the playcanvas scene. I found this$^1$ an amazing and simple example of how to render a simple HTML div over your playcanvas scene. Using the information found in that example I created the following 3 files in my playcanvas scene.
1
2
3
4
5
6
7
8
9
10
11
12
13
14
15
16
17
18
19
20
21
22
.container {
    position: absolute;
    bottom: 16px;
    right: 16px;
    width: 20em;
    height: 20em;

    background-color: rgb(255, 0, 0);
    color: #fff;
    font-weight: 100;
    padding: 8px;

    /* Stop users from selecting this div aside from desired behavior */
    box-shadow: 0 0 16px rgba(0, 0, 0, .3);
    -webkit-touch-callout: none;
    -webkit-user-select: none;
    -khtml-user-select: none;
    -moz-user-select: none;
    -ms-user-select: none;
    user-select: none;
    outline: 0;
}
and
1
2
3
<!-- To be Honest you probably don't need this file -->
<div id="DropArea">
</div>
and the javascript below creates a two attributes and upon initalization will create new a container with the contents and styles and append them to the document body.
1
2
3
4
5
6
7
8
9
10
11
12
13
14
15
16
17
18
19
20
21
22
23
24
25
26
27
28
29
30
var DragAndDrop = pc.createScript('dragAndDrop');

DragAndDrop.attributes.add('css', {
  type: 'asset',
  assetType: 'css',
  title: 'CSS Asset'
});

DragAndDrop.attributes.add('html', {
  type: 'asset',
  assetType: 'html',
  title: 'HTML Asset'
});

// initialize code called once per entity
DragAndDrop.prototype.initialize = function() {
    // create STYLE element
    var style = document.createElement('style');

    // append to head
    document.head.appendChild(style);
    style.innerHTML = this.css.resource || '';

    // Add the HTML
    this.div = document.createElement('div');
    this.div.classList.add('container');
    this.div.innerHTML = this.html.resource || '';

    document.body.appendChild(this.div);
};
Javascript and Playcanvas functions
Next we need to handle users draging assets over the dropbox area and the even when users drop the asset. In my intial search I found this$^2$ example. Using the information provided by the previously mentioned example we can create 3 function:
1
2
3
4
5
6
7
8
9
10
11
12
13
14
15
16
17
18
19
20
21
22
23
24
DragAndDrop.prototype.dropOver = function (e) {
    e.preventDefault();
    e.stopPropagation();
    let file = e.dataTransfer.files[0];
    console.log(file);
    this.readImage(file);
};

DragAndDrop.prototype.dragOver = function (e) {
    e.stopPropagation();
    e.preventDefault(),
    e.dataTransfer.dropEffect = "copy";
    console.log(e);
};

DragAndDrop.prototype.readImage = function(file) {
    const reader = new FileReader();
    reader.addEventListener('load', (e) => {
        uploaded_image = e.target.result;
        document.getElementById('containerID').style.backgroundImage = `url(${uploaded_image})`;
        window.userTexture = `url(${uploaded_image})`;
    });
    reader.readAsDataURL(file);
};
we then need to update the initalize method so that we can bind the newly created functions like so:
1
2
3
4
5
6
7
8
9
10
11
12
13
14
15
16
17
18
19
DragAndDrop.prototype.initialize = function() {
    // create STYLE element
    var style = document.createElement('style');

    // append to head
    document.head.appendChild(style);
    style.innerHTML = this.css.resource || '';

    // Add the HTML
    this.div = document.createElement('div');
    this.div.classList.add('container');
    this.div.id = "containerID";
    this.div.innerHTML = this.html.resource || '';

    this.div.addEventListener("dragover", this.dragOver.bind(this));
    this.div.addEventListener("drop", this.dropOver.bind(this));

    document.body.appendChild(this.div);
};
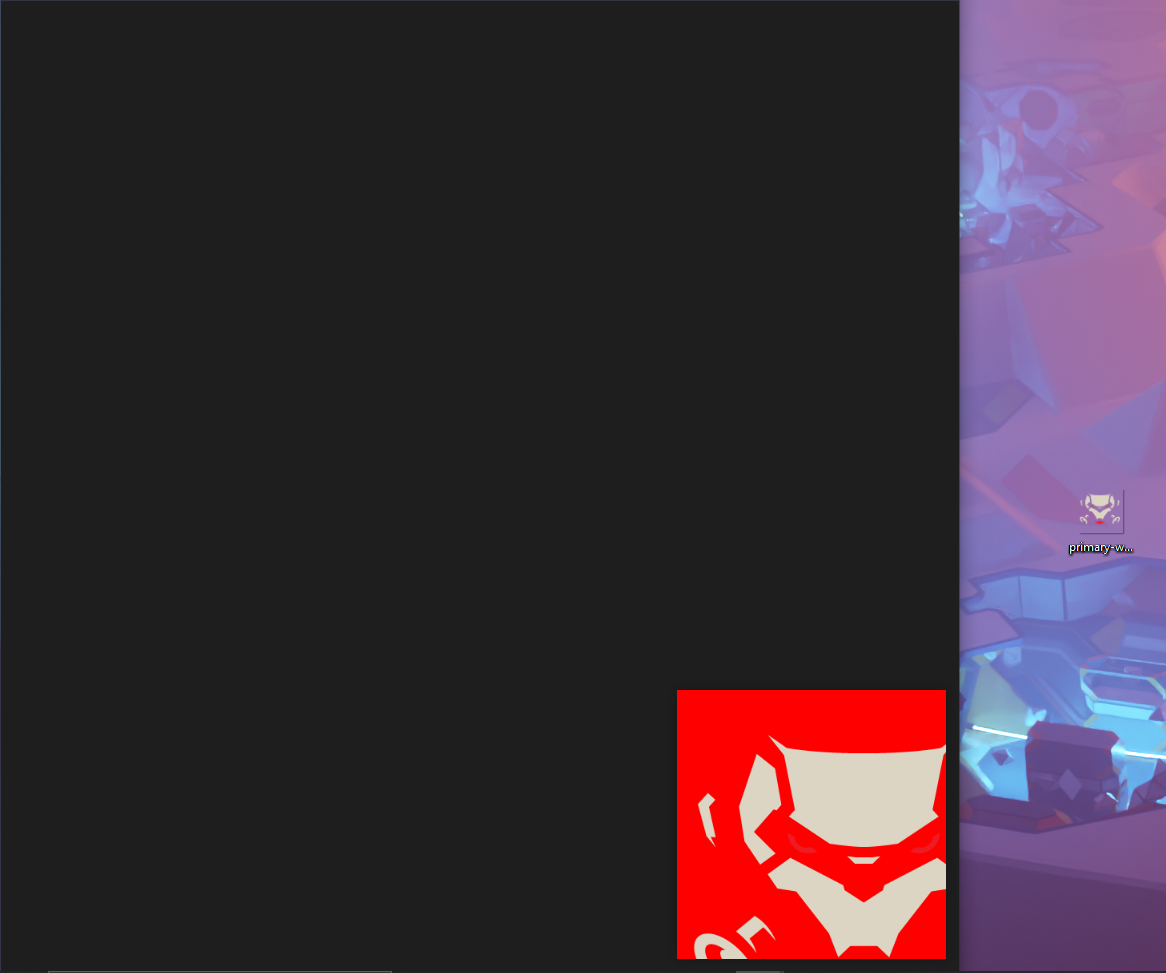
Result
Here we can drag an image over from our desktop 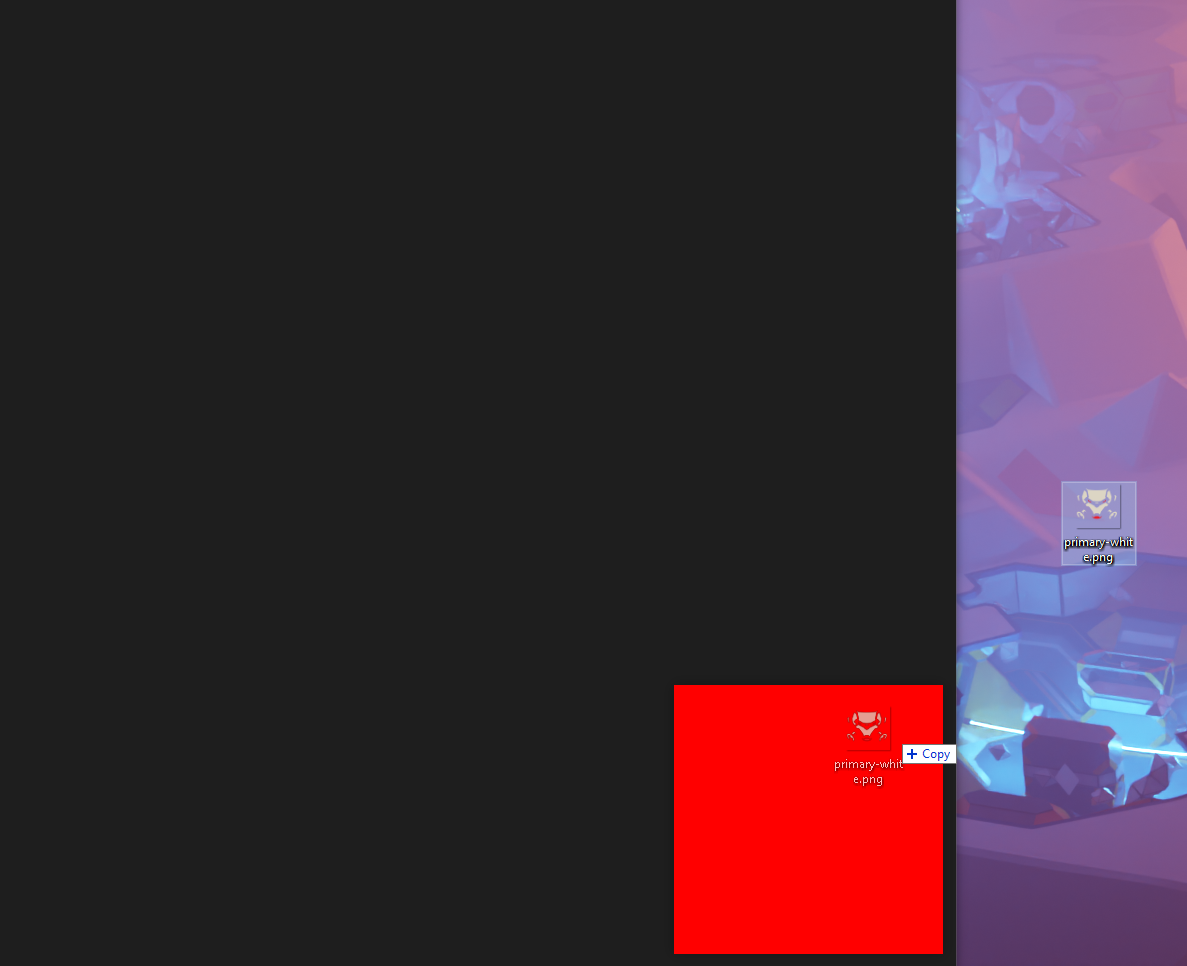 And here we can drop it into our playcanvas scene